


How to Install Your Off-Road Lights with DT Wire Harness: A Practical Guide
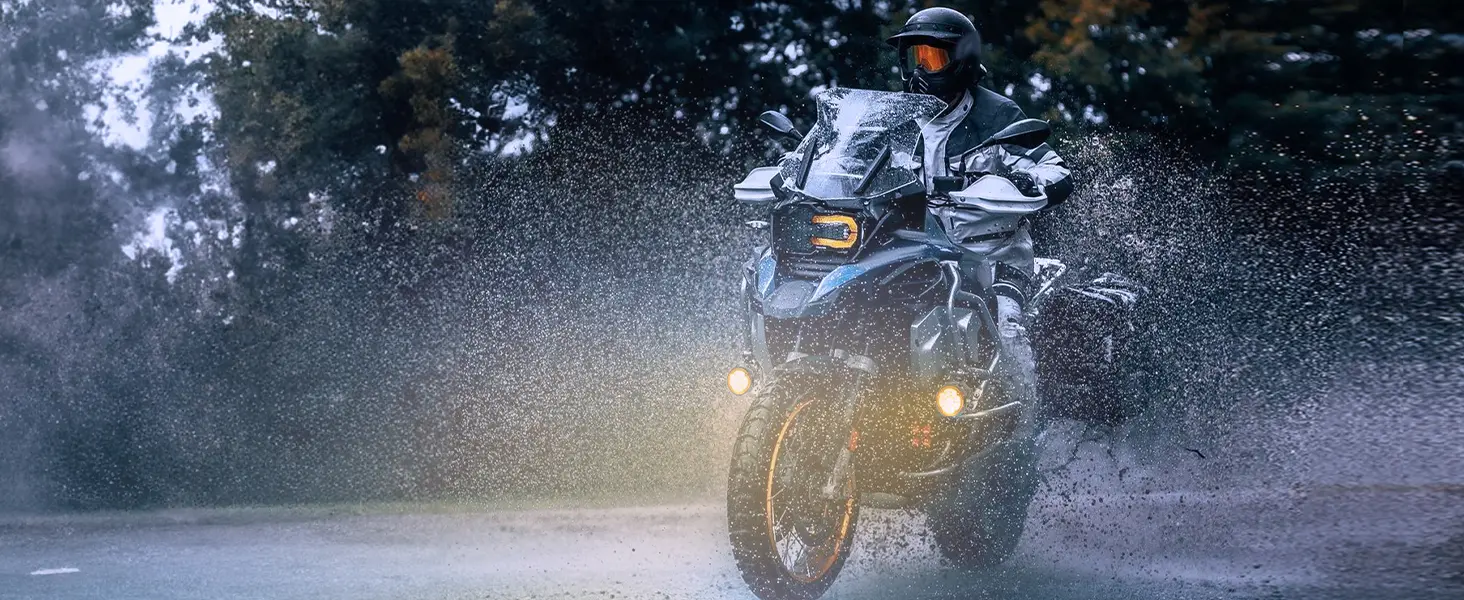
Upgrading your Off-Road Lights can transform your nighttime driving experience. Whether you're heading into the wild or just want better visibility on dark roads, this 7-inch 210W LED light with DT wire harness offers serious performance — and it’s easier to install than you think.
In this guide, we’ll walk you through the setup step by step and explain why this lighting system is a smart upgrade.
Why Choose These 7-Inch LED Driving Lights?
This off-road light isn’t just bright—it’s built for real use in extreme conditions:
-
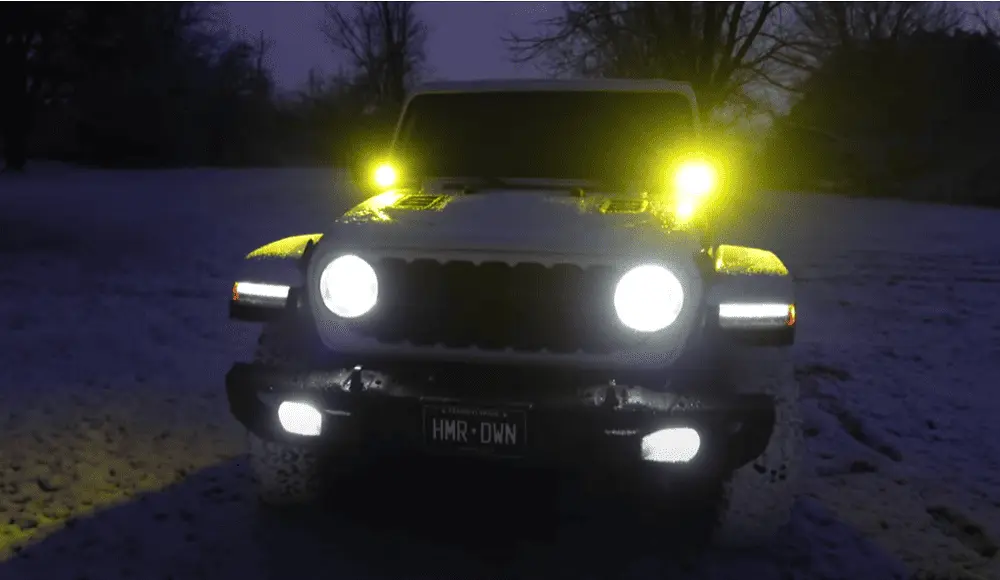
Massive Light Output
Each pair delivers 210W of power and 23,100 lumens, using high-performance 10W LEDs and a 25W center module. You’ll get impressive brightness for trails, fields, or work sites. -
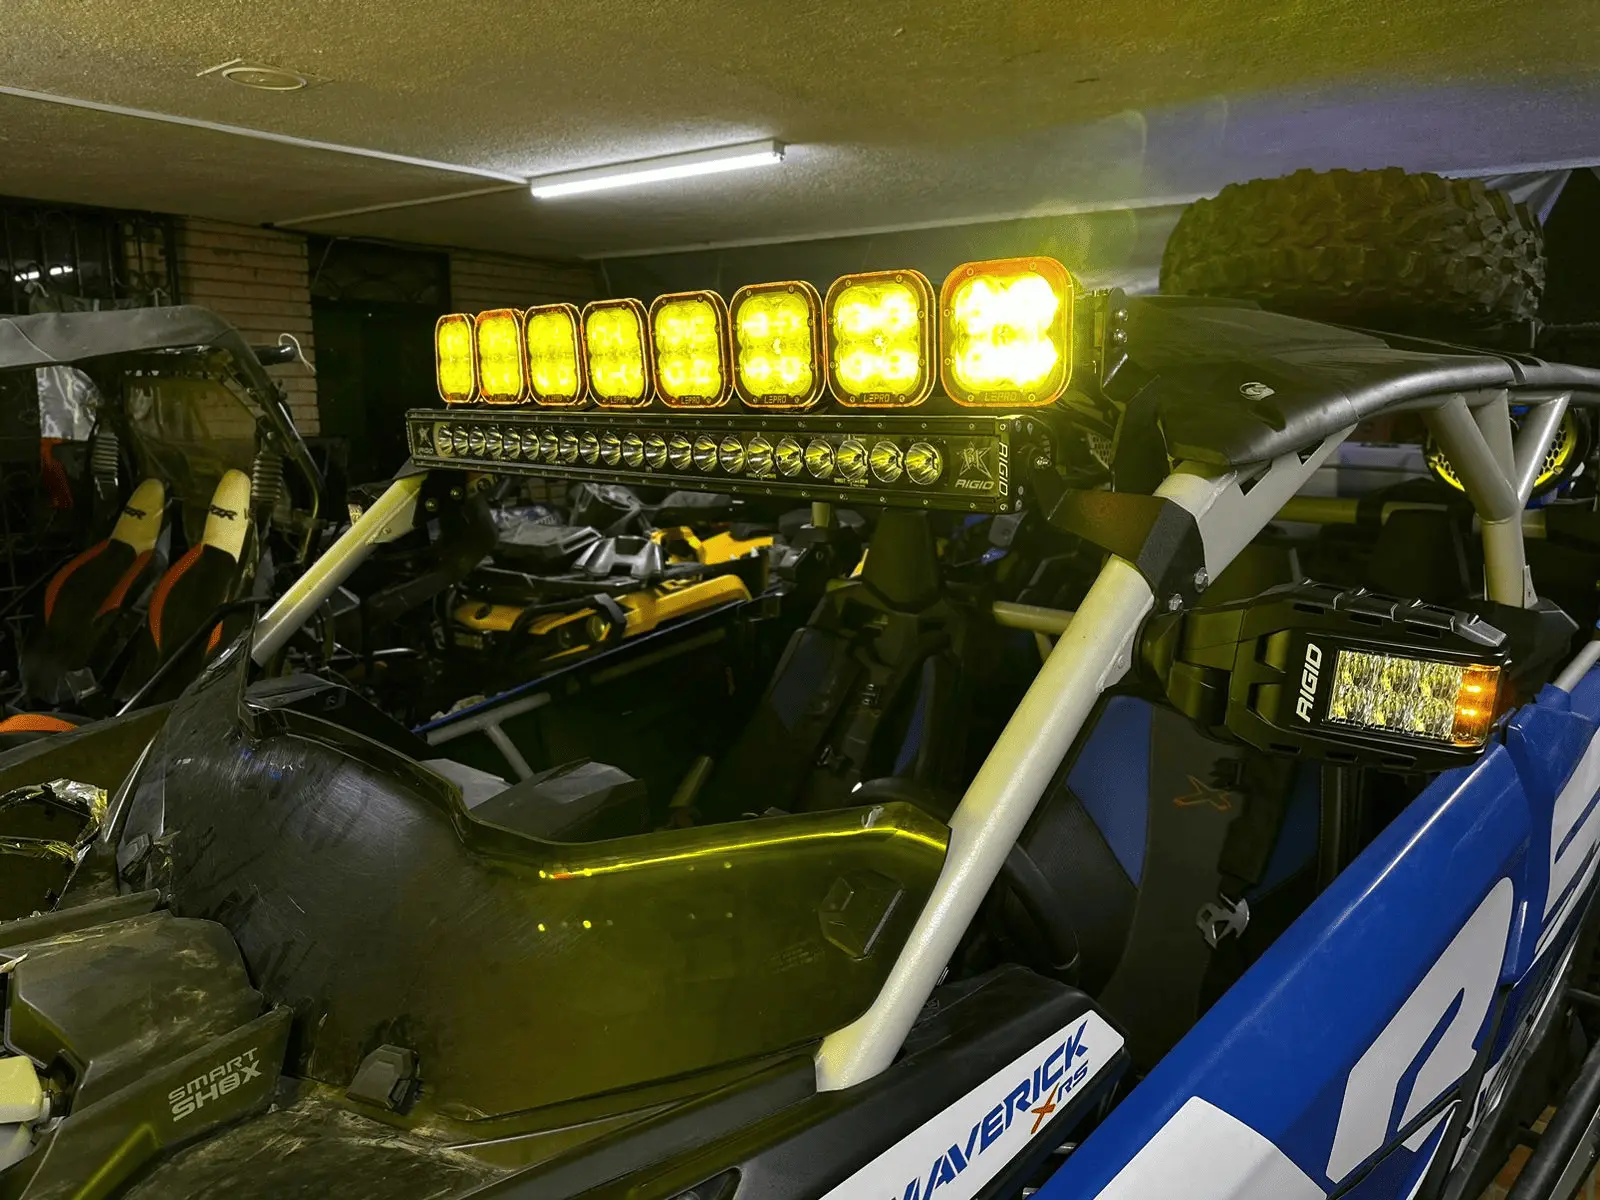
Triple Beam Combo
It combines spot, flood, and laser beams, giving you both distance and width. That means you can see far ahead and to the sides—no blind spots. -
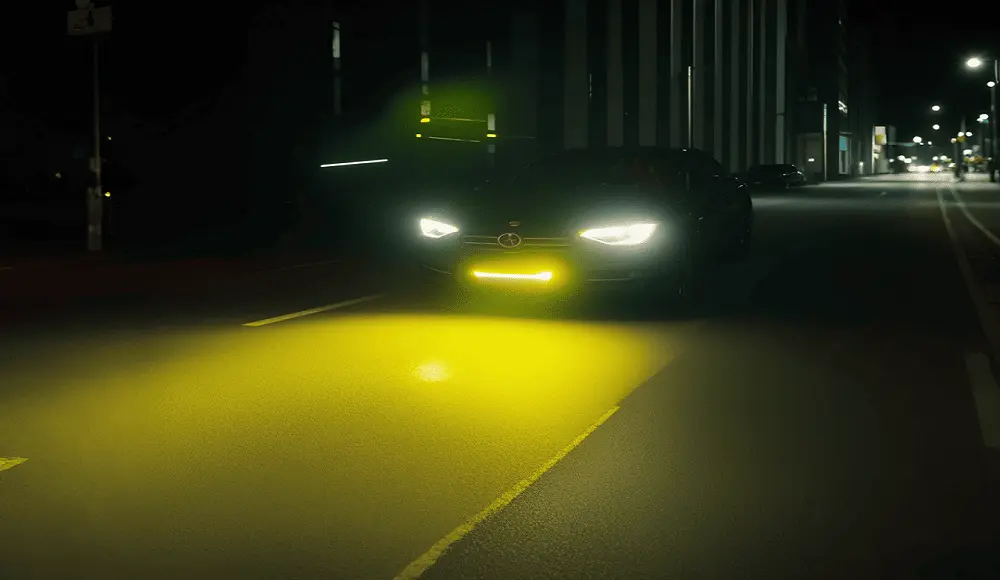
Dynamic DRLs with Chasing Effect
The white and amber DRLs come with a chasing start-up animation, helping your vehicle stand out while adding visibility and style. -
Rugged & Sleek Design
The screw-free front gives it a clean look, while the ADC12 die-cast aluminum body and IP68 waterproof rating keep it safe from water, mud, and dust. -
1 Lux @ 1500m Beam Distance
That’s long-distance visibility you can rely on—perfect for high-speed or remote driving. -
Heavy-Duty Mounting Brackets
Stainless steel mounts with 40° adjustable angles make positioning simple and secure.
What You’ll Need
-
7-Inch LED lights (pair)
-
DT wire harness (includes relay, fuse, switch, and connectors)
-
Basic tools: wrench, screwdriver, wire stripper
-
Optional: heat shrink tubing, drill, zip ties
-
Electrical tester (recommended)
Step-by-Step Installation
1. Plan Your Mounting Location
Popular spots include the front bumper, roof rack, or A-pillar. Test-fit your lights before drilling to make sure they don’t block airflow or sensors.
2. Mount the Lights
Clean the surface, install the brackets using stainless steel bolts, and attach the lights. Aim them slightly downward—you’ll adjust them after testing.
3. Connect the DT Wire Harness
-
Battery Connection
Disconnect the negative terminal. Connect the red (positive) wire with fuse to the battery’s positive post. Ground the black wire to a clean metal surface. -
Relay & Fuse
Mount the relay on an unpainted metal surface near the battery. This protects your electrical system. -
Wire Routing
Keep wires away from hot engine parts or sharp edges. Use zip ties or wire loom for neat and safe routing. -
Install the Switch
Feed the switch wire into the cabin through an existing grommet. Mount the switch on your dashboard or A-pillar for easy access.
4. Connect Lights to the Harness
Plug the DT connectors from the lights into the DT harness. Make sure red goes to red and black to black. Use heat shrink or tape to seal the joints.
5. Test & Adjust
Reconnect the battery and flip the switch. The lights should turn on immediately. Adjust the beam angle by parking 25 ft from a wall and align the light pattern. Tighten all bolts when done.
Troubleshooting Tips
-
Light doesn’t turn on? Check the fuse, ground, and battery connection.
-
Flickering? Look for loose wiring or a poor ground.
-
Switch not working? Make sure the wire isn’t pinched when routing into the cabin.
Why the DT Harness Makes It Easy
This waterproof DT harness is made for plug-and-play installs:
-
No cutting or splicing
-
Pre-terminated connectors
-
Built-in relay and fuse for protection
-
Safe for use in all weather
Final Thoughts
Installing your 7-inch 210W LED Off-Road Lights with a DT harness is a simple DIY project that gives you professional-level performance. With wide and long-range visibility, a dynamic DRL effect, and rugged construction, this setup is ready for anything—from trail rides to night work.
Ready to upgrade?
Install it, power on, and drive with confidence.